


Duurzame used2b-tassen
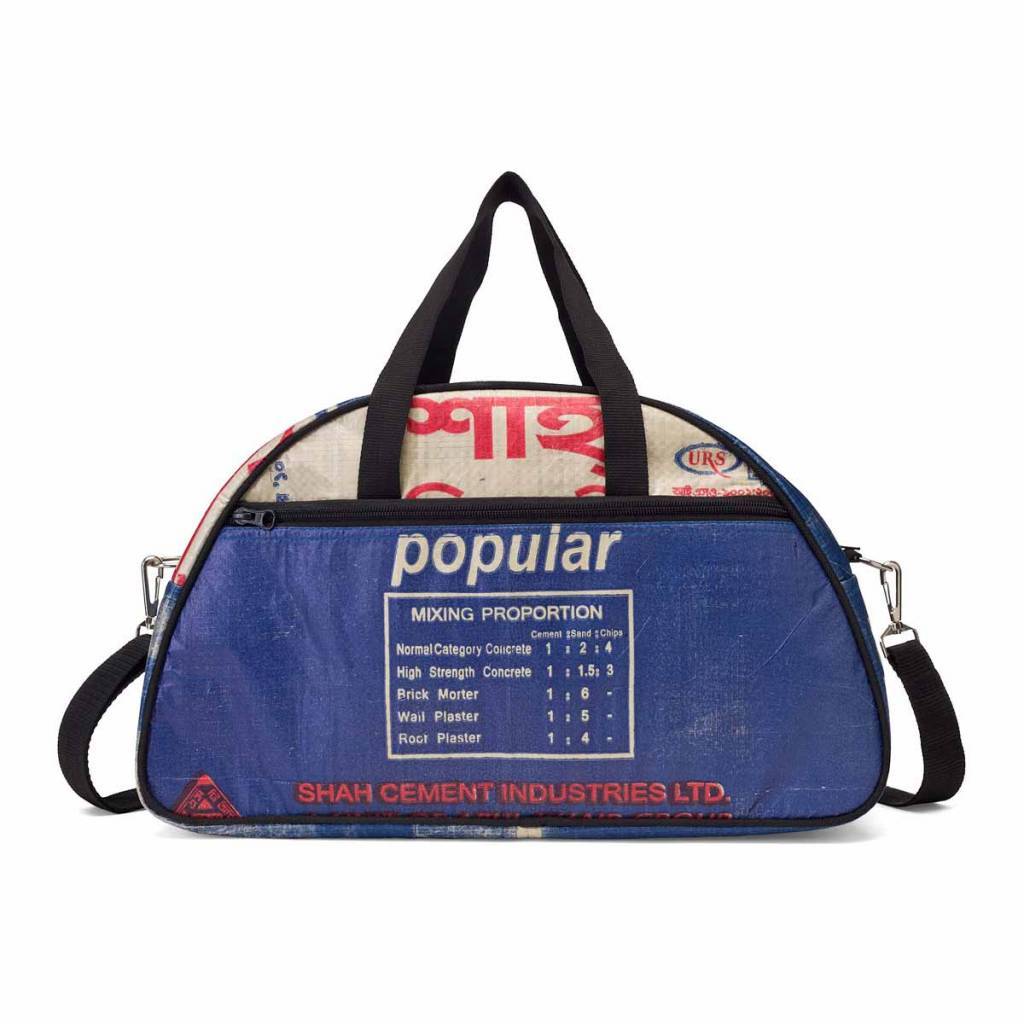
Gebruikte cementzakken, versleten autobanden en oude reddingsvesten krijgen een tweede leven in de stoere urban bags voor mannen en vrouwen van Used2b. Upcycling met een twist en noem het gerust een win-win: stijl en ecologie vinden hier elkaar. Oude spullen om-vormen tot iets moois, Used2b was er al mee bezig voor upcycling een trend werd.
Bekijk hier de gehele Used2b collectie!
Upcycled tassen
Het wordt ook wel Upcyclen genoemd en Used2b is er fan van. Het bedrijf werkt samen met kleine Fair Trade ateliers in India, Bangladesh en Cambodja. Hier wordt er voor gezorgd dat afgedankte materialen als binnenbanden, thee-oogstzakken en cementzakken een tweede leven krijgen. Hergebruik én een gebaar om de afvalberg kleiner te maken. Mooi toch?
Cabin Crew Selection
Onlangs heeft Used2b de Cabin Crew Selection gelanceerd. Deze exclusieve en innovatieve tassencollectie is gemaakt van originele reddingsvesten. Door de aankoop van een partij reddingsvesten bij een vliegtuig recycling bedrijf, kon er in een atelier in India unieke gele en rode (sport) tassen van gemaakt worden. Deze Cabin Crew tassen zijn een praktische eyecatcher en geschikt voor mannen én vrouwen.
Luiertassen voor mannen
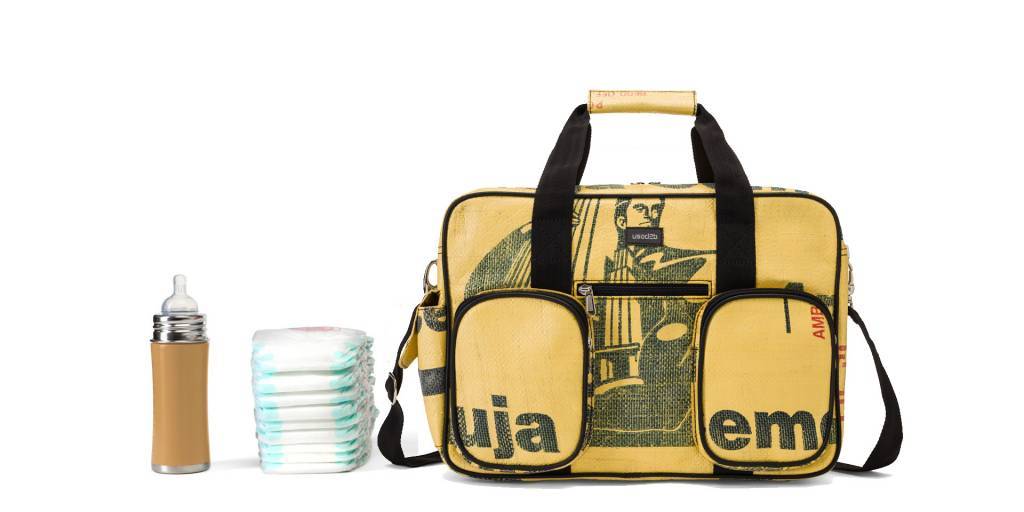
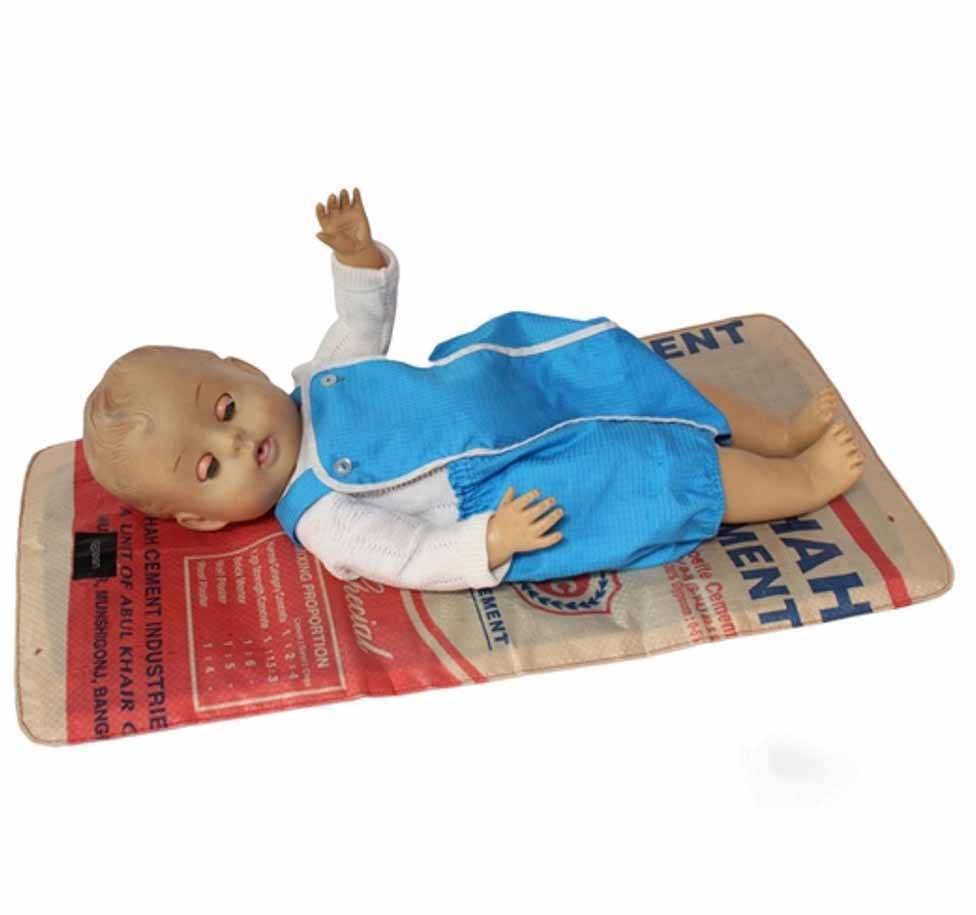
Ook aan vaders van pasgeboren baby’s is gedacht! Uniek in de collectie zijn de duurzame luiertassen, gemaakt van afgekeurde cementzakken waar bijvoorbeeld een drukfout op staat. Geen baby tierelantijntjes of typische roze en blauw tinten. Used2b zorgt voor luiertassen met een robuust design waar ook vaders blij van worden. Verder zijn de tassen uiteraard voorzien van al het nodige comfort. Denk aan lekker veel opbergvakken en handige verstelbare schouderbanden.
Stoere fietstassen
Naast de collectie sport-, vrijetijd-, en werktassen kent Used2b ook ruime dubbele fietstassen. Ook deze zijn gemaakt van geupcycelde cementzakken en zijn gevoerd met waterdicht nylon. De fietstassen zijn lekker praktisch voor onderweg en dankzij het open model kunnen ze prima gebruikt worden in combinatie met een kinderzitje of snelbinders.